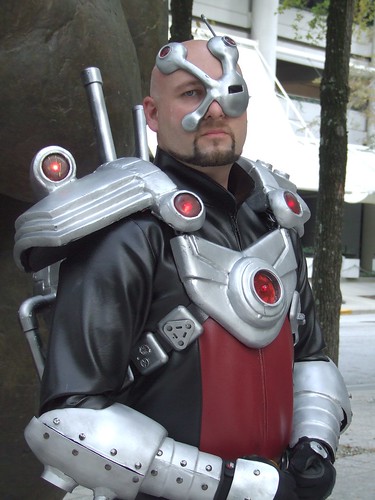
Another project I want to share with you is a new costume piece we made for Scott for Dragon*Con. The costume is of a character from Marvel Comics Thunderbolts, named Techno. As you can see, this costume has some large, heavy, awkward pieces. This year, we remade them so that they would be lighter, more resilient, and less painful.
The new shoulder pieces were built by making a mold of the old one and using fiberglass to create a strong new skin that doesn't require reinforcement -- just foam. Plus, the new pieces have lights installed.
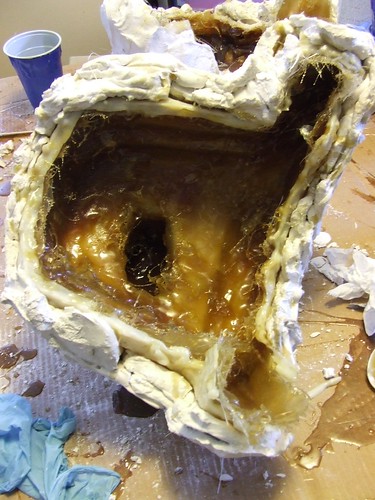
Unfortunately, we started the fiberglass before we really knew how to do it, so that created a lot more work for us. You can see this from the random strands of fiberglass sticking out in the photo above. Not knowing how to apply the fiberglass meant that we had to apply more coats, cut off sharp parts, fill in holes on the outside, and a lot of sanding.
The first thing to know before you start is that there are two different ways you can buy the fiberglass reinforcement.
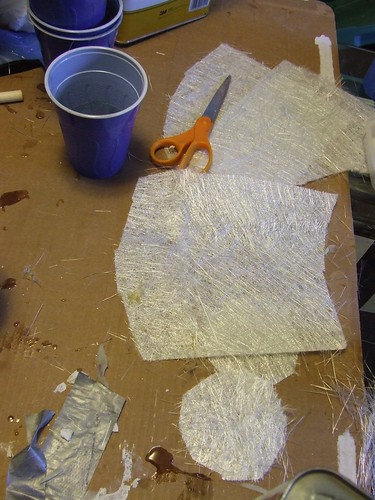
The batts shown above are full of fibers that are scattered in random directions, and are not adhered together. You can pull the fiberglass batt apart, not unlike a batt of roving for spinning wool. Bits of the batt sticking to our gloves were the cause of the all of the spindly sharp bit in the picture above.
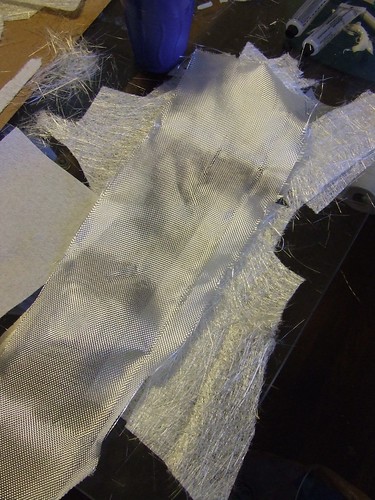
The cloth shown above is much cleaner and in many ways easier to work with, but it flexes in a different way from the batt, and the shapes must be pre-cut.
These number of sharp spots lessened as we realized that it was easier to work with once we smothered it in resin. Still, we couldn't get things right until we finally did what we should have done in the first place -- called for advice. I knew that my mom had made fiberglass sculptures in college, so we asked her for tips. Everything she said made so much sense, and then it was confirmed when we talked to her neighbor, who has used fiberglass to make bathtubs, etc. Here's what we learned:
You have to remember that the fiberglass is just an armature and the really important material is the resin, so you need to focus on the resin. You want to pour the resin into the mold so that it's thick, like spreading honey. The resin coat you apply should be thicker than your fiberglass. You will then set the fiberglass onto the coat of resin and it will sink down into the resin and be swallowed up by it. We had coated the mold with only a small bit of resin before adding the fiberglass, which ultimately led to voids between the mold and the fiberglass that we laid on top. Plus, the fiberglass became totally unmanageable, sticking to our gloves, etc., because it wasn't fully soaked in the resin.
You want to work in small areas and move from one to the next, rather than trying to get an entire coat done in one shot. The size of these areas should be about 6"x6" and that should decrease if there is a tight radius. You don't want the resin to dry entirely, but you can let it set up a little. It will work and there won't be a seam as long as the part you're working on is touching a part that's not dry yet. This is like the way that painters have traditionally made frescoes. Doing this would have allowed us to turn the piece to get into areas that are completely opposite each other without having the resin run and pool.
No comments:
Post a Comment